We are discussing how to change Apple ID, and this blog post will give you relevant information about the process. Your Apple ID is an essential key that provides access to Apple services like iCloud, App Store, and iMessage. Whether you are using an iPhone, iPad, or Mac, this account helps sync your data and make purchases effortlessly. However, at times, you might need to change your Apple ID, especially if you have switched email addresses or want to enhance security. Therefore, before making any changes, it is crucial to understand that your Apple ID is connected to multiple services. As a result, following the correct steps is necessary to avoid losing important data. Consequently, this guide will help you change your Apple ID smoothly and securely.
Since changing your Apple ID is a quick and straightforward process, you can complete it within minutes. If you no longer use the email or phone number associated with your Apple ID, updating it immediately ensures you do not miss verification requests. Moreover, for those unfamiliar with Apple’s ecosystem, the process might appear complicated. However, it is actually much simpler than expected. In this article, we have thoroughly explained how to change your Apple ID on iPhone, iPad, Mac, and the web. Hence, by carefully following the steps, you can ensure a seamless transition without any inconvenience.
Back up your iPhone data
Before you change your Apple ID, it is absolutely crucial to back up your iPhone data. Therefore, connect your device to Wi-Fi, ensure sufficient iCloud storage, and navigate to Settings. Subsequently, tap your name, select iCloud, scroll down, and enable “iCloud Backup” before tapping “Back Up Now.” Moreover, as an extra precaution, you can create a backup through your computer by connecting via USB. Afterwards, open Finder on Mac or iTunes on Windows, click “Back Up Now,” and wait patiently. Consequently, this secondary backup ensures all your important data remains secure before making any changes.
Precautions Before Changing Your Apple ID
Review Subscriptions & Services: Check Apple Music, iCloud storage, and ongoing app subscriptions linked to your Apple ID.
Take Screenshots or Notes: Document active subscriptions since they may need reactivation later.
Download Purchases: Ensure all apps, music, and movies are downloaded, as they may be temporarily inaccessible.
Verify Email Access: Confirm access to both old and new email addresses before making changes.
Check New Email Eligibility: Ensure the new email hasn’t been used as an Apple ID before to avoid issues.
Maintain a Stable Internet Connection: Prevent synchronization problems by ensuring uninterrupted connectivity.
Inform Family Sharing Members: Notify them in advance, as changes may affect shared content access.
Log Out of All Apple Services: Sign out from devices like iPhone, iPad, Mac, Apple TV, and HomePod.
Sign In with New Apple ID: After changing, re-login to all devices you wish to associate with the new ID.
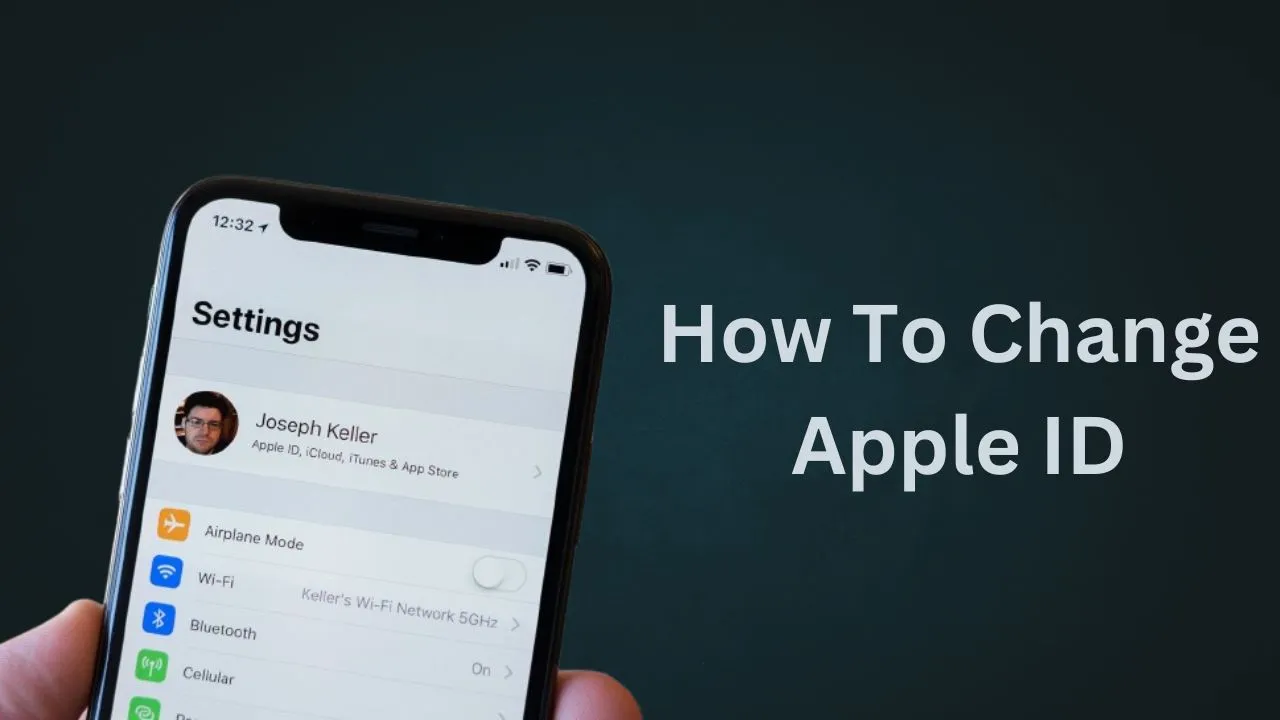
Open Settings: Launch the iPhone’s Settings app, where your current Apple ID is displayed at the top.
Access Apple ID Settings: Tap your name to navigate to the Apple ID settings page.
Sign Out: Scroll down and select “Sign Out,” then follow the prompts to remove your Apple ID.
Choose Data Retention: Decide whether to keep a copy of your data on your iPhone.
Sign In with New Apple ID: Tap “Sign in to your iPhone” and enter your new Apple ID credentials.
Create a New Apple ID (If Needed): Tap “Don’t have an Apple ID?” to create one directly on your device.
Verify Identity: Complete two-factor authentication using your trusted phone number or Apple devices.
Sync & Activate Services: Your iPhone will sync and activate iCloud services under the new Apple ID.
How To Change Your Apple ID on a Mac
Access Apple Menu: Click the Apple logo in the top-left corner of your Mac’s screen.
Open System Settings: Select “System Settings” (or “System Preferences” on older Macs).
Navigate to Apple ID: Click on your name or Apple ID at the top of the window.
Sign Out: Click “Sign Out” and wait while your Mac removes your Apple ID information.
Choose Data Retention: Decide whether to keep copies of your iCloud data on your Mac.
Sign In with New Apple ID: Click “Sign In” and enter your new Apple ID email and password.
Verify Identity: Complete two-factor authentication using a trusted device.
Sync & Reactivate iCloud: Your Mac will sync with your new Apple ID and reactivate iCloud services.
Wait for Synchronization: Be patient as files, photos, and data sync with the new account.
Change Your Apple ID on a Web Browser
Open Web Browser: Go to the official Apple ID website (appleid.apple.com).
Sign In: Click the “Sign In” button and enter your Apple ID email and password.
Verify Identity: Enter the verification code sent to your trusted devices if two-factor authentication is enabled.
Access Account Settings: Click “Sign In” to access your Apple ID account details.
Locate Apple ID Email: Find your current Apple ID email under the “Account” section.
Edit Apple ID: Click the “Edit” button next to your Apple ID email address.
Enter New Email: Input the new email address you want to use as your Apple ID.
Verify New Email: Apple will send a verification code to your new email address.
Confirm Ownership: Enter the verification code to confirm the email change.
Sign In on All Devices: Update your Apple ID on all Apple devices for proper synchronization.
Sign Out and Sign Back In with a New Apple ID
Sign Out from All Devices: Ensure a smooth transition by signing out of your Apple ID on all devices.
Sign Out on iPhone/iPad: Open Settings, tap your name, and scroll down to select “Sign Out.”
Enter Apple ID Password: Provide your current Apple ID password when prompted.
Choose Data to Keep: Select which data you want to retain on your device before signing out.
Wait for Account Removal: Allow a few minutes for your device to remove all Apple ID information.
Sign In with New Apple ID: Go back to Settings and tap “Sign in to your iPhone.”
Enter New Credentials: Input your new Apple ID email address and password.
Complete Two-Factor Authentication: Verify your identity using a trusted device or phone number.
Sync Data with New Apple ID: Wait for contacts, photos, and messages to synchronize before using your device.
What Happens After Changing Your Apple ID?
Your purchased apps, subscriptions, and iCloud data remain intact.
You might need to update your Apple ID on devices manually.
Apple services like iMessage, FaceTime, and iCloud may require re-signing in.
Conclusion
Changing your Apple ID might seem overwhelming at first, but following these steps makes it manageable. Always back up your data beforehand, keep verification methods updated, and ensure access to both email addresses. Moreover, properly sign out of all devices and be patient during synchronization after signing in. If any issues arise, promptly contact Apple Support for assistance and enjoy your Apple services smoothly. If you want more info then visit this page.
FAQs
How do I change my existing Apple ID?
Go to Settings > [Your Name] > Sign Out, then sign back in with your new Apple ID email. For a web browser, visit appleid.apple.com and edit your email address in the Account section.
Can I change my Apple ID without losing everything?
Yes, if you properly back up your data and follow the correct sign-out procedure, all your purchases, documents, and data will transfer to your new Apple ID.
How do I remove my old Apple ID from my iPhone and add a new one?
In Settings, tap your name, scroll down to “Sign Out,” enter your password to confirm, then sign in with your new Apple ID credentials.
How can I reset my Apple ID?
Visit iforgot.apple.com, enter your Apple ID email, and follow the account recovery steps to reset your password and regain access to your account.